
Timber floors are timeless, elegant, and a symbol of durability. They add a classic charm and warmth to any home, office, or commercial space. However, over time, even the most well-maintained timber floors can lose their sheen, develop scratches, or suffer from fading due to regular wear and tear. That’s when timber floor restoration comes into play.
Restoring timber floors is an intricate process that involves several steps to ensure the flooring is rejuvenated, safe, and looks as good as new. In this comprehensive guide, we will walk you through the detailed, step-by-step process of timber floor restoration. Whether you’re looking to restore your own floors or hire a professional, this article covers all the essential information you need to know.
Why Timber Floor Restoration Matters

Before diving into the restoration process, it’s crucial to understand why restoring timber floors is so important. Timber floors are durable but require care and maintenance. Over time, dirt, scratches, stains, and discoloration can detract from their beauty. Regular restoration not only helps to restore the aesthetic value of your floors but also ensures they remain durable and last longer.
Here are some of the benefits of timber floor restoration:
Improves appearance: Restored timber floors regain their natural shine and beauty.
Extends lifespan: Regular restoration helps prolong the lifespan of your timber flooring.
Increases property value: Well-maintained floors increase the overall value of your property.
Improves hygiene: Cleaning and sanding eliminate allergens, dust, and grime.
Now, let’s look at the process of timber floor restoration, from assessment to finishing touches.
Read more: Signs Your Timber Floor Needs Professional Restoration
A Comprehensive Guide to Timber Floor Restoration
Step 1: Initial Inspection and Assessment

Before starting any restoration project, the first step is a thorough inspection of your timber floors. This assessment determines the current state of the floor and helps professionals (or you) decide on the appropriate restoration methods.
What to Look For:
Scratches and scuff marks: These are the most common signs of wear on timber floors.
Fading or discoloration: Sun damage or the natural aging of the wood can cause uneven color.
Cupping or warping: Moisture or humidity changes can cause boards to curl or warp.
Stains and spots: Wine, water, and pet stains that haven’t been properly cleaned.
Holes and dents: Impact damage that requires attention.
Based on the condition of the floor, professionals will decide if sanding, sealing, or board replacement is necessary.
Step 2: Preparing the Area
Before beginning the restoration process, it’s essential to clear the area. This involves:
Removing furniture: All furniture, rugs, and any obstacles on the floor must be moved out of the way.
Cleaning the floor: Sweep or vacuum the floor thoroughly to remove dirt, dust, and debris.
Protecting other surfaces: Cover nearby walls, windows, and other furniture with plastic or drop cloths to avoid any dust or debris from damaging them.
Preparation is key to ensure that the restoration process is efficient and effective.
Step 3: Sanding the Timber Floor

Sanding is a crucial part of the timber floor restoration process. It involves removing the top layer of the floor to eliminate imperfections like scratches, scuff marks, and stains. It also smooths out the surface for refinishing.
How Sanding Works:
Coarse sanding: The first step is using a coarse-grit sandpaper (usually around 40-60 grit) to remove the old finish and smooth out any imperfections. This stage will remove deep scratches, stains, and any build-up from previous finishes.
Medium sanding: After coarse sanding, a finer grit (80-100) is used to smooth the surface further.
Fine sanding: The final pass uses the finest grit (120-150) to create a smooth, even surface that is ready for staining or sealing.
Professional Tips:
Dustless sanding: It’s essential to use dustless sanding equipment to minimize dust. Dust can settle on the floor and affect the final finish, making it look uneven.
Multiple passes: Ensure multiple passes with different grit levels to ensure the surface is perfectly smooth and free of scratches.
Sanding is the most time-consuming part of the restoration process, but it’s essential for achieving a flawless finish.
Step 4: Cleaning the Floor After Sanding
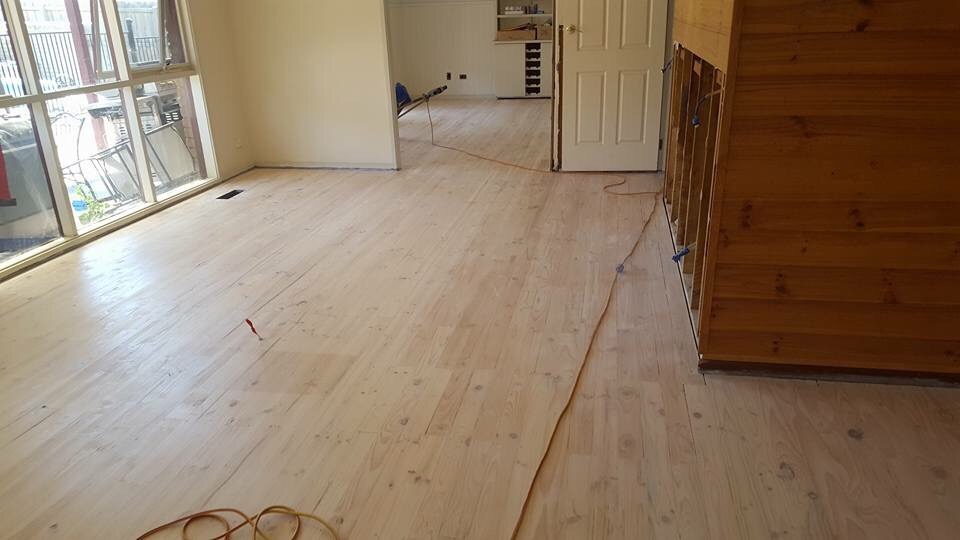
Once sanding is complete, cleaning the floor is critical to ensure that all dust and debris are removed. Even a small amount of dust left behind can impact the new finish.
Vacuum the floor: Use a vacuum cleaner with a HEPA filter to remove fine dust particles from the surface.
Mop the floor: Lightly mop the floor using a damp microfiber cloth to remove any remaining dust.
At this stage, you should be able to see the true condition of the timber, which will guide you in deciding whether the floor requires any further repairs before moving on to the next step.
Step 5: Repairing Damaged Sections

If there are any noticeable damages such as deep gouges, holes, or warped boards, this is the time to fix them.
Common Repairs:
Filling gouges: Use a wood filler that matches the floor’s color. Apply it to deep scratches or gouges, smooth it with a putty knife, and allow it to dry before sanding.
Board replacement: If the floorboards are severely damaged, replacing a few boards may be necessary. This is typically done with the same type of timber to maintain consistency.
This step ensures that the floor is fully repaired before applying any finishes.
Step 6: Staining (Optional)

If you want to change the color of your timber floor or restore its original hue, staining is an optional step. Staining can enhance the natural beauty of the timber and give it a fresh, modern look.
Staining Process:
Choose a stain: Select a stain that complements the style and color of your space. It’s recommended to test the stain on a small, inconspicuous area before applying it to the entire floor.
Apply the stain: Use a brush or a cloth to apply the stain evenly across the floor. Work in sections to ensure consistent color and avoid overlapping.
Allow the stain to dry completely before moving on to the next step. For a deeper tone, you can apply additional layers of stain.
Step 7: Sealing the Floor

Once the sanding and staining are complete, the next step is sealing the floor. Sealing is essential to protect the timber from moisture, dirt, and other contaminants.
Sealing Options:
Polyurethane: The most popular choice for sealing timber floors, offering durability and water resistance.
Water-based finishes: These offer a low odor and quick drying time but may not be as durable as oil-based finishes.
Oil finishes: Provide a more natural look but require more maintenance.
Apply the chosen finish evenly across the floor using a brush, roller, or lambswool applicator. For optimal results, apply at least two coats of finish, allowing each coat to dry before applying the next.
Tips for a Professional Finish:
Avoid foot traffic: Once the finish is applied, avoid walking on the floor for at least 24 hours.
Buffing: After the final coat, some people choose to buff the floor with a polishing machine for a high-gloss shine.
Step 8: Final Inspection and Touch-Up

Once the floor has dried and cured, it’s time to inspect the floor and make any necessary touch-ups. This involves checking for missed spots, uneven areas, or imperfections in the finish.
Things to Look For:
Streaks or patches: Any streaking from the finish or patches that didn’t receive enough coating should be addressed.
Dust or debris: Ensure no dust particles have settled in the finish.
If everything looks perfect, your timber floor restoration is complete!
Step 9: Clean-Up and Furniture Reassembly
Finally, it’s time to clean up the work area and move furniture back into the room. Here’s how you can complete the clean-up process:
Clean tools and equipment: Clean your brushes, rollers, and other equipment thoroughly.
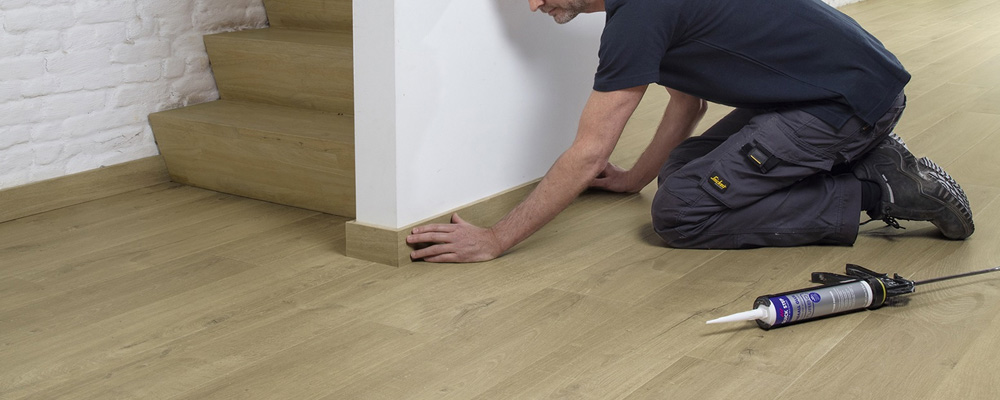
Remove protective coverings: Carefully remove any plastic coverings from the walls and furniture.
Reinstall baseboards: If the baseboards were removed or temporarily detached during the restoration, reattach them.
Now your timber floor is restored to its former glory, with a new shine and protection to last for years to come.
Why Hire a Professional for Timber Floor Restoration?
While it’s possible to restore timber floors yourself, the process is labor-intensive, and achieving professional-level results requires expertise and high-quality equipment. Here’s why hiring a professional floor restoration service is a great idea:
Expertise: Professionals understand how to properly handle different types of timber and apply the right amount of pressure during sanding.
Time-saving: Floor restoration can take a lot of time and effort. Professionals can complete the job quickly and efficiently.
Better results: Professional services use premium finishes and advanced equipment, ensuring a high-quality, long-lasting result.
Why Choose CBTimber Floor for Your Timber Floor Restoration?

When it comes to timber floor restoration, experience and expertise matter. At CBTimber Floor, we specialize in providing professional and reliable timber floor restoration services across Melbourne. With years of experience in the flooring industry, we have honed our skills and perfected the restoration process to bring your floors back to life.
Why CBTimber Floor Stands Out:
Expert Craftsmanship: Our team is highly trained and skilled in handling all types of timber floors, ensuring a smooth and seamless restoration process.
Quality Equipment: We use advanced, dustless sanding technology, high-quality finishes, and eco-friendly products that guarantee long-lasting results.
Personalized Service: At CBTimber Floor, we tailor our restoration services to meet the unique needs of your floors, taking care of every detail to ensure your complete satisfaction.
Affordable Pricing: We provide top-notch restoration services at competitive prices, making sure you get the best value for your investment.
Reliable and Efficient: We understand how important your time is, so we ensure that the restoration process is carried out quickly, efficiently, and with minimal disruption to your daily routine.
Whether you need sanding, polishing, repairs, or a full restoration, CBTimber Floor is here to help bring your timber floors back to their natural beauty. Contact us today for a consultation, and let us help you achieve stunning results.
Conclusion
Timber floor restoration is a detailed process that can breathe new life into your floors, enhancing both their appearance and functionality. By following the right steps, from inspection to sealing, you can ensure your timber floors remain stunning for many years to come.
Whether you’re a DIY enthusiast or prefer to hire a professional, knowing the step-by-step process can help you make informed decisions. If you’re looking for expert timber floor restoration in Melbourne, CBTimber Floor offers top-quality services with years of experience in restoring and preserving timber floors.
Contact us today for a consultation and get your timber floors back to their best!


